
Content
In any piping system where two pipes of different diameters need to be connected, the fitting used to bridge that size difference plays a critical role in maintaining flow efficiency and system integrity. The UPVC reducer coupling is one of the most practical and widely used fittings for this purpose. Made from unplasticized polyvinyl chloride, these couplings combine chemical resistance, structural rigidity, and long service life with a cost-effective price point. Whether you are working on a residential plumbing project, an industrial water treatment system, or an agricultural irrigation network, understanding how UPVC reducer couplings work and how to install them correctly can save significant time and prevent costly failures.
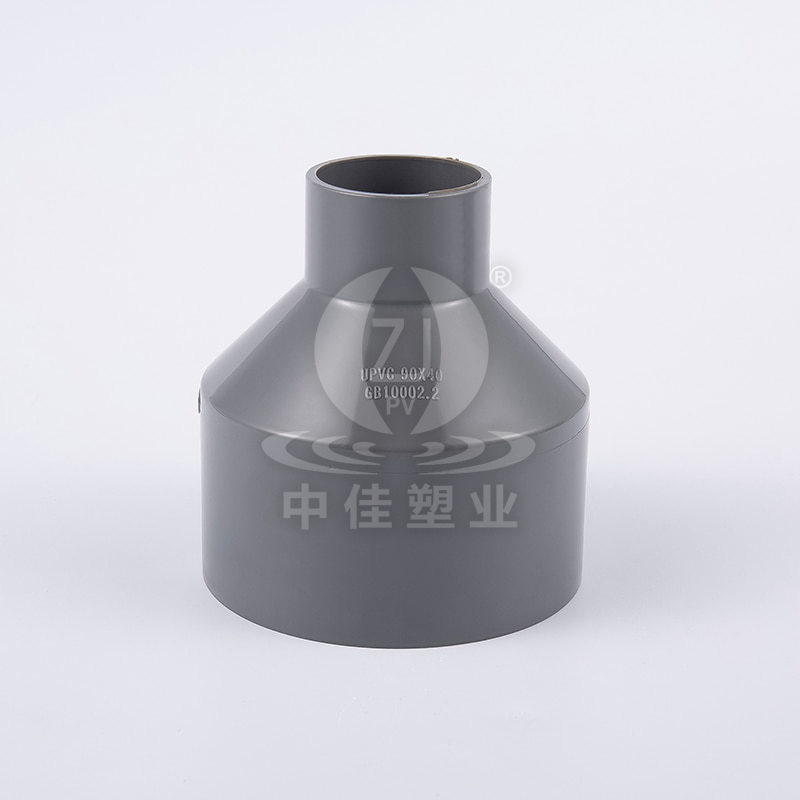
A UPVC reducer coupling is a pipe fitting designed to connect two pipes of different outer or inner diameters within the same pipeline. It acts as a transition piece, allowing fluid to flow from a larger pipe into a smaller one, or vice versa, without creating turbulence-inducing abrupt changes or leakage points. The fitting is manufactured from UPVC, a rigid form of PVC that contains no plasticizers, which gives it superior hardness, dimensional stability, and resistance to deformation under pressure compared to standard flexible PVC.
The coupling is typically defined by two end dimensions — the larger socket or spigot end and the smaller socket or spigot end — along with the pressure rating and connection standard it conforms to. Common standards include BS 4346, DIN 8063, ASTM D2466, and ISO 727, depending on the application region and industry. These fittings are available in both solvent-weld (socket) and threaded (BSP or NPT) configurations, offering flexibility for different installation environments.
Not all UPVC reducer couplings are built the same. The right type depends on the pipe sizes involved, the joining method preferred, and the operating conditions of the system.
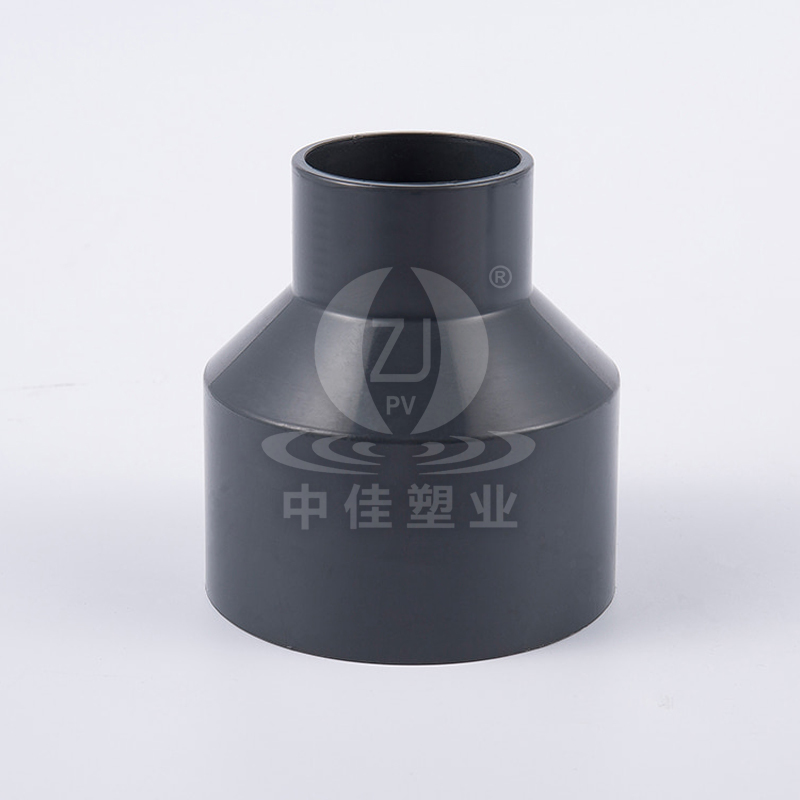
In a concentric reducer, both pipe ends share the same centerline. The reduction from the larger diameter to the smaller diameter is symmetrical around the axis. This type is most commonly used in vertical piping installations or in horizontal systems where uniform flow distribution is required. Concentric reducers maintain a consistent centerline, which simplifies alignment during installation.
An eccentric reducer has one flat side, meaning the centerlines of the two pipe ends are offset. This design is preferred in horizontal pipelines where it is important to maintain the top or bottom of the pipe at the same level to prevent air pockets or sediment trapping. Eccentric reducers are particularly common in pump suction lines and drainage systems.
This is the most commonly used type for permanent UPVC installations. The pipe ends are inserted into the sockets of the coupling after applying solvent cement, which chemically fuses the pipe and fitting into a single rigid unit. Solvent-weld connections are leak-proof, strong, and require no mechanical fasteners or special tools beyond a primer and cement applicator.
Threaded UPVC reducer couplings use BSP (British Standard Pipe) or NPT (National Pipe Thread) threads for connection. They allow disassembly and reassembly, making them suitable for systems that require periodic maintenance or modification. PTFE tape is applied to the threads to ensure a watertight seal. However, threaded fittings are generally rated for lower pressures than solvent-weld equivalents.
UPVC reducer couplings are available in a broad range of size combinations to match virtually any piping configuration. Below is a table showing typical size combinations and their associated pressure ratings under standard conditions:
| Larger End (mm) | Smaller End (mm) | Pressure Rating (Bar) | Common Application |
| 32 | 25 | 16 | Domestic plumbing |
| 50 | 40 | 16 | Irrigation, drainage |
| 63 | 50 | 12.5 | Water mains, industrial |
| 90 | 63 | 10 | Commercial plumbing |
| 110 | 90 | 10 | Sewage, large-scale irrigation |
Pressure ratings decrease as pipe diameter increases because larger pipes carry greater fluid volumes and the fitting wall thickness relative to internal pressure becomes a limiting factor. Always verify the pressure rating of the reducer coupling against the maximum operating pressure of your system, including any surge or water hammer conditions.
The choice of UPVC as a material for reducer couplings is not arbitrary. Its physical and chemical properties make it exceptionally well-suited for both above-ground and buried piping systems.
Installing a UPVC reducer coupling with solvent cement is a straightforward process, but attention to detail at each step is essential for a leak-free, long-lasting joint. Rushing through preparation or applying cement incorrectly are the two most common causes of joint failure.
Use a UPVC pipe cutter or fine-tooth hacksaw to cut both pipe ends squarely. An angled or ragged cut creates an uneven bonding surface that weakens the joint. After cutting, deburr the inside and outside edges of each pipe end with a chamfering tool or fine sandpaper to remove burrs that could scrape away solvent cement during insertion.
Insert each pipe end into the corresponding socket of the reducer coupling without cement to confirm fit and alignment. Mark the pipe and coupling with a reference line using a marker pen. This reference mark ensures you re-insert the pipe to the correct depth and orientation when applying cement under time pressure.
Apply UPVC primer to both the pipe end and the inside of the coupling socket using the applicator brush. Allow the primer to flash off for 15–30 seconds. Then apply a generous, even coat of UPVC solvent cement to both surfaces immediately. Work quickly — solvent cement begins to cure within seconds of application and should not be allowed to dry before assembly.
Push the pipe firmly and steadily into the socket, rotating it a quarter-turn as you insert it to spread the cement evenly. Push to the depth marked in the dry-fit step, then hold the joint under firm hand pressure for at least 30 seconds to prevent the pipe from backing out as the cement softens the surfaces. Wipe away any excess cement that squeezes out of the joint.
Allow the joint to cure fully before introducing pressure. At temperatures above 20°C, a minimum cure time of 1 hour is required before light pressure testing, and 24 hours before full operating pressure is applied. At lower temperatures or in high-humidity conditions, extend the cure time accordingly. Never rush the curing stage — premature pressurization is the leading cause of solvent-weld joint failure in field installations.
Selecting the correct reducer coupling involves more than just matching pipe sizes. Several system-specific factors should influence your final choice.
Even experienced installers occasionally make preventable errors when working with UPVC reducer couplings. Being aware of these pitfalls helps ensure a trouble-free installation that performs reliably over the long term.
The UPVC reducer coupling is a deceptively simple fitting that carries significant responsibility within a piping system. Its ability to transition cleanly between pipe diameters while maintaining pressure integrity, chemical resistance, and long-term dimensional stability makes it indispensable across plumbing, irrigation, industrial, and water treatment applications. By selecting the correct type and size, following proper solvent-weld installation procedures, and avoiding common mistakes, you can ensure that every reducer coupling in your system performs reliably for decades without maintenance or replacement.
Follow us
PVC-U
PVC-U Pipes PVC-U Fittings for Industry PVC-U Fittings for Water Supply PVC-U Pipes ASTM D1785 PVC-U Fittings ASTM SCH80
Copyright © Changzhou Zhongjia Plastic Industry Co., Ltd.All rights reserved.
 UPVC/CPVC Pipes Manufacturers


Copyright @ Changzhou Zhongjia Plastic Industry Co., Ltd.All Rights Reserved.